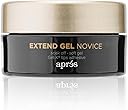
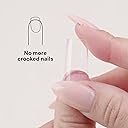
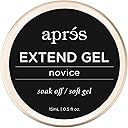
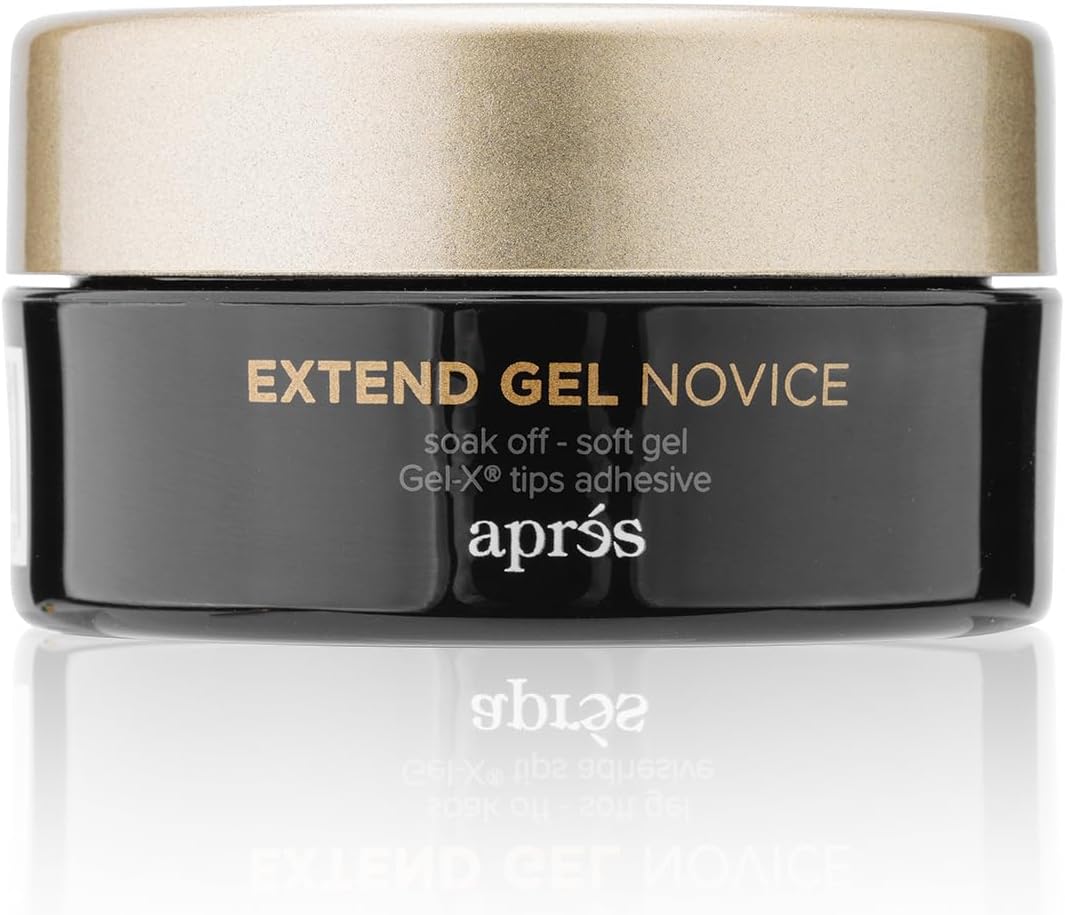
New to Gel-X? Then this is the perfect product for you! Our Extend Gel Novice was created for the beginner Gel-X enthusiast. Its thick, putty-like consistency holds the Gel-X tip in place more easily, allowing you more time to adjust placement or correct any mistakes. New Gel-X users often have a hard time preventing the Extend Gel from overflowing and properly maneuvering the Gel-X tip under a light to dry. With Extend Gel Novice, you can release it before curing without worrying about the Gel-X tip moving. Extend Gel Novice is HEMA free and absorbs as easily as our Extend Gel. Pairs perfectly with our Neutrals Gel-X and Heavenly Top Gelcoat tips for a polished and effortless look. What you get:1 x 15ml bottle Review: Weird - I found this so much more challenging to use than the regular extend gel Review: A really great product for a very specific purpose. - This is a product to adhere gel X tips to your natural nails. This is made for DIYers who want to do gel X manicures at home. I doubt a pro would need this or see the value. Game changer for those of us with only two hands… If you have ever tried to give yourself a gel x mani then you know that trying to place the nail perfectly and flash cure it before it moves is an experiment in extreme frustration—lots of cures words and a terrible mani.. Most of the adhesion gels, while definitely thicker than regular base coat, are still thin so the gel nail has to be held in place while flash curing. If you only have two hands and you’re placing the nail on one of them using the other one, it is impossible to clean up seepage without a third hand. I believe that’s why Apres created this product. Using the extend gel novice, you can place your gel x nail and it’s not going to move unless you move it. The purpose is to allow you to place the nail and then clean up any excess gel that seeped out, straighten and tweak until the nail is placed perfectly and then you flash cure for 20 seconds. It is also the only way I can do my dominant hand using my non dominant hand. The thing to know is this gel is very thick—it’s a soft solid. When I first received it, I really thought I was going to hate it. I actually love it, but it’s important to make sure you are armed with the correct tools before you try to use it for the first time. In the video you will see I use a very small putty knife to take a little chunk out for placement in the gel x nail. I take the putty knife and smash the gel into the underside of the gel x nail, then use the putty knife to flatten it out. One important aspect of a successful gel X mani is to not have any bubbles in the adhesive gel. I find if I flatten out this gel before placing the tip on my nail bed I don’t have air bubbles and it spreads out nicely to the free edge. The other things you want to have for this are a stash of orange-wood sticks, some isopropyl alcohol and paper towels. I buy the orange-wood sticks that are pointed on one end and cut at a flat slant on the other. Once I have my gel X tip placed correctly, I use the orange-wood stick to clean up the excess gel around my cuticle, the side wall, and any the squished out near the free edge of my nail. A little alcohol on the paper towel will help you easily clean off the excess from the orange-wood stick. Once you do this a few times you get a feel for how much gel to use so you have very little overflow once you place it. One of the things I love about this is it is Hema free. You still don’t want to cure it onto your skin, but it is much less likely to cause any type of allergy or reaction than many of the other gel x adhesion gels on the market. This was a bit pricey, but worth it. I do not know of another soft gel product like it. I tried doing my own with the Extend gel first. Not happening. I would literally have to have a third hand. Maybe when I have perfected my skills, but for now this is saving me hundreds of dollars at the nail salon so definitely worth the money I spent on it. And it lasts a long time. It is really good quality. It cures well and lasts for weeks if you properly prep your nails. It’s important to focus on your cuticles, and also make sure you removed all the old product. Those are the two things that cause poor adhesion. If you start with a squeaky clean slightly rough nail plate and get them placed properly, you can do a beautiful gel x mani that lasts 3 to 4 weeks. After prepping my natural nail plate, I use Apres dehydrator and then Apres primer. After placement I flash cure each nail for 20 seconds before going on to the next one. Then I cure each hand for 90 seconds. You do not need a base coat on top of a gel X nail. Once I have all 10 of my nails placed and cured, I use a light coat of Apres primer on them before I polish. I did the mani you see in the video using exactly this process. The first couple of times you do it will take longer, but you will get faster if you keep practicing. This definitely makes the job much easier so beautiful results are possible without dropping $125+ at the nail salon.


| ASIN | B0DLYJFM88 |
| Brand | APRÉS |
| Colour | Pale |
| Customer Reviews | 3.7 out of 5 stars 195 Reviews |
| Item Form | Gel |
| Item form | Gel |
| Manufacturer | APRÉS |
| UPC | 840298411313 |
| Unit Count | 15.0 millilitre |
| Unit count | 15.0 millilitre |
H**B
Weird
I found this so much more challenging to use than the regular extend gel
D**L
A really great product for a very specific purpose.
This is a product to adhere gel X tips to your natural nails. This is made for DIYers who want to do gel X manicures at home. I doubt a pro would need this or see the value. Game changer for those of us with only two hands… If you have ever tried to give yourself a gel x mani then you know that trying to place the nail perfectly and flash cure it before it moves is an experiment in extreme frustration—lots of cures words and a terrible mani.. Most of the adhesion gels, while definitely thicker than regular base coat, are still thin so the gel nail has to be held in place while flash curing. If you only have two hands and you’re placing the nail on one of them using the other one, it is impossible to clean up seepage without a third hand. I believe that’s why Apres created this product. Using the extend gel novice, you can place your gel x nail and it’s not going to move unless you move it. The purpose is to allow you to place the nail and then clean up any excess gel that seeped out, straighten and tweak until the nail is placed perfectly and then you flash cure for 20 seconds. It is also the only way I can do my dominant hand using my non dominant hand. The thing to know is this gel is very thick—it’s a soft solid. When I first received it, I really thought I was going to hate it. I actually love it, but it’s important to make sure you are armed with the correct tools before you try to use it for the first time. In the video you will see I use a very small putty knife to take a little chunk out for placement in the gel x nail. I take the putty knife and smash the gel into the underside of the gel x nail, then use the putty knife to flatten it out. One important aspect of a successful gel X mani is to not have any bubbles in the adhesive gel. I find if I flatten out this gel before placing the tip on my nail bed I don’t have air bubbles and it spreads out nicely to the free edge. The other things you want to have for this are a stash of orange-wood sticks, some isopropyl alcohol and paper towels. I buy the orange-wood sticks that are pointed on one end and cut at a flat slant on the other. Once I have my gel X tip placed correctly, I use the orange-wood stick to clean up the excess gel around my cuticle, the side wall, and any the squished out near the free edge of my nail. A little alcohol on the paper towel will help you easily clean off the excess from the orange-wood stick. Once you do this a few times you get a feel for how much gel to use so you have very little overflow once you place it. One of the things I love about this is it is Hema free. You still don’t want to cure it onto your skin, but it is much less likely to cause any type of allergy or reaction than many of the other gel x adhesion gels on the market. This was a bit pricey, but worth it. I do not know of another soft gel product like it. I tried doing my own with the Extend gel first. Not happening. I would literally have to have a third hand. Maybe when I have perfected my skills, but for now this is saving me hundreds of dollars at the nail salon so definitely worth the money I spent on it. And it lasts a long time. It is really good quality. It cures well and lasts for weeks if you properly prep your nails. It’s important to focus on your cuticles, and also make sure you removed all the old product. Those are the two things that cause poor adhesion. If you start with a squeaky clean slightly rough nail plate and get them placed properly, you can do a beautiful gel x mani that lasts 3 to 4 weeks. After prepping my natural nail plate, I use Apres dehydrator and then Apres primer. After placement I flash cure each nail for 20 seconds before going on to the next one. Then I cure each hand for 90 seconds. You do not need a base coat on top of a gel X nail. Once I have all 10 of my nails placed and cured, I use a light coat of Apres primer on them before I polish. I did the mani you see in the video using exactly this process. The first couple of times you do it will take longer, but you will get faster if you keep practicing. This definitely makes the job much easier so beautiful results are possible without dropping $125+ at the nail salon.
R**R
Don’t waste your money on this product.
I was really excited to try this product and wanted to love it but I wish I saved my money. I followed the instructions very carefully and all of my nails popped off a few hours later. On my first try, I used a little bit more of the gel than I needed and it was difficult to wipe the excess gel away. However, I do like that you don’t have to hold it in place while you cure it and it’s more forgiving than the regular extend gel when it comes to positioning. Overall, I wouldn’t recommend buying this product, it has potential and could be better but it was quite disappointing.
A**A
Str8 up game changer!! Got uneven, thin nails? ✨️💖❤️💅
With this crazy economy, I can't afford to go to the salon anymore. Luckily, I had previously splurged on an Apres starter kit. My first attempt at doing my nails was a DISASTER. 😅 I have weak, thin, brittle natural nails that are a little longer (trying to make an attempt at growing them out) and the regular Extend Gel non-wipe that they include in the kit....just was not happening with my nails. My natural nails are an uneven height, and they left large air gaps between them and the extensions. I made a mess everywhere, I was frustrated, and it was all an impossibility to use that runny stuff. I needed to do some brainstorming. So after looking up some more YouTube videos and doing research on this problem, here's how I fixed all the frustration and actually made application so much fun, I enjoyed the process immensely! 🤩 First, I had ordered the Apres Builder Gel, prepped nat nails as usual, then applied a coat of that. It thickened my nails, made them sturdy, and more even. I had also ordered this Extend Gel Novice, and was so glad that I did! This stuff is super thick, exactly what I needed to finish filling out those gaps between my nat nails and extensions. Its not sticky like the regular Extend gel....much cleaner to work with. Getting it off your skin is a breeze, it rolls off with a swipe, and you can put the excess back in the container. It doesn't even smell! I can place the tip exactly where I want, take my time, and the hold is super strong. Use this combined with the Builder Gel and the Overlay method to blend that nail seamlessly, and you got a beginner friendly nail set that lasts a month! I highly recommend this Extend Gel Novice though if nothing else, for those who struggled in a similar fashion like I did. Not sure about the quality of cheaper Amazon brands that many people are using, but Apres is saving me a LOT of money for quality nails that last, that are easy, clean to use, and im a happy camper. 😄🙋♀️💃
C**E
Great product.
👍 What I like: • The consistency is thicker, described as “putty-like”, which really helps when placing a tip. Because the product holds the tip in place, it reduces the common beginner issue of the tip shifting before curing.  • It’s HEMA-free. For users sensitive to HEMA or who prefer a gentler chemistry, this is a plus.  • It’s soak-off friendly, which means easier removal (less filing required) compared to some tougher adhesives. • Because of its thicker texture, you may need to adjust your application technique (less gel, careful placement) to avoid overflow or uneven placement. One user wrote: “I find it so much more difficult to work with because it’s never consistent… the putty-like texture takes more time to get out of the pot.” For someone starting out with Gel-X tips (whether as a DIY user or novice tech), the Aprés Extend Gel Novice is a very good choice — especially if you appreciate more “hands-on” control and a formulation aimed at smoothing the early learning curve. The HEMA-free and soak-off features add value.
Trustpilot
5 days ago
1 month ago